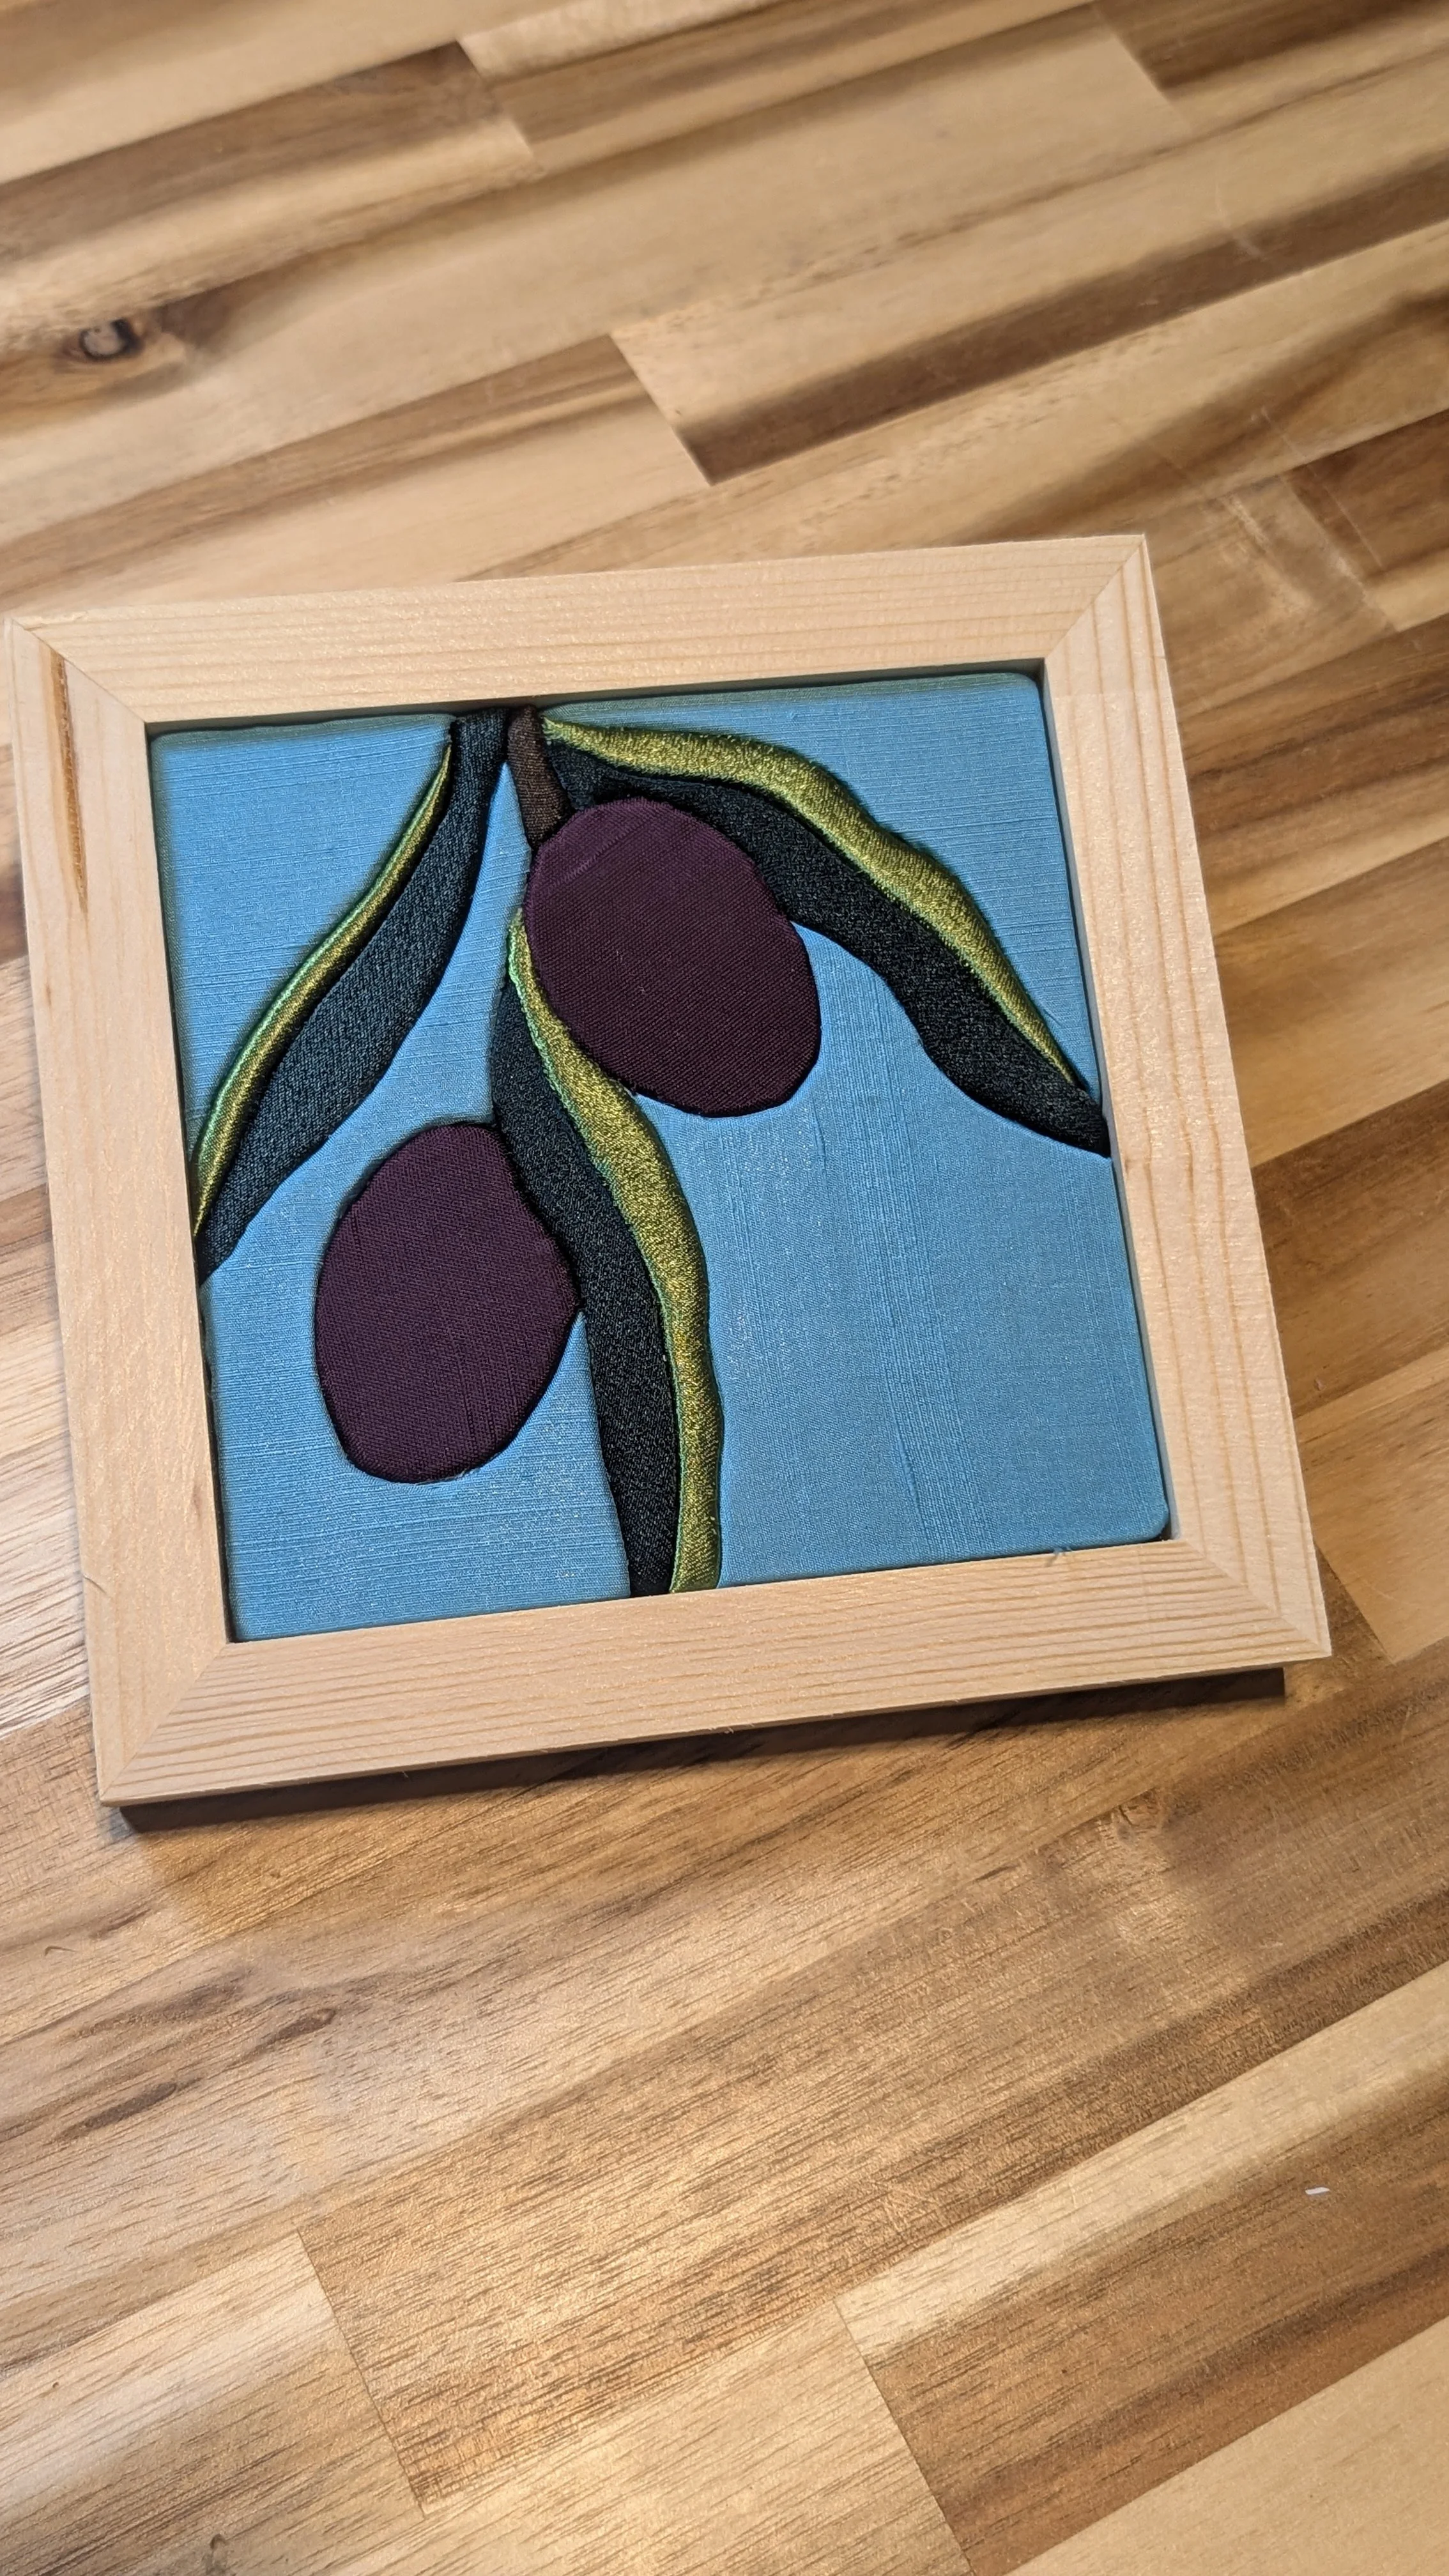
Let’s make a…
Chanukah Kinusaiga
Welcome, and thanks for stopping by!
This page is still a work in progress! I'll be adding more detailed instructions, photos, and helpful tips very soon. In the meantime, here's a quick guide to get you started.
What Is Kinusaiga?
Kinusaiga (きぬさいが) is a Japanese art form that uses small pieces of fabric tucked into grooves to create colorful pictures. Traditionally made using wood, this version uses foam to make the process easier and more accessible.
The best part? No sewing required!
What You'll Need
Foam board
A paper design template
Double-sided adhesive tape
Assorted fabric pieces
An X-Acto knife or craft knife
A seam ripper or other blunt-edged tucking tool
Scissors
A picture frame (optional)
Or, grab one of my DIY kits, which includes everything you need!
Step-by-Step Instructions
1. Prepare Your Design
Place your paper design template over the foam and secure it with a little tape so it doesn't move.
Using your craft knife, carefully cut along the lines of the design, creating shallow grooves in the foam. You want the grooves deep enough to tuck fabric into, but not so deep that you cut all the way through!
Once you've cut all the lines, remove the paper template.
If your foam is already pre-cut, you can skip this step!
2. Plan Your Fabric Colors
Before cutting any fabric, decide which colors and patterns you'd like to use in each section of your design.
Take a moment to make sure you have enough of each fabric for every section where you plan to use it. Remember that you'll need a little extra fabric around each shape for tucking into the grooves.
3. Make Your Fabric Patterns
If your foam has double-sided adhesive, carefully peel the protective paper backing from one section at a time.
You can use these pieces of backing as templates for cutting your fabric!
Place each paper piece against the corresponding fabric and cut around it, leaving approximately ¼ inch of extra fabric around the edges.
Don't cut your fabric exactly to the size of the paper! That extra material is what you'll tuck into the foam.
4. Attach Your Fabric
Place your cut fabric over its matching section of foam, with the patterned side facing up.
Gently smooth it onto the adhesive, making sure it covers the entire section and extends beyond the grooves.
5. Tuck the Edges
Using your seam ripper or another suitable tucking tool, gently push the extra fabric into the grooves around the shape.
Work slowly around the edges, keeping the fabric smooth and avoiding wrinkles.
Be careful not to tear the fabric or damage the foam!
6. Finish the Border
To give your artwork a clean, finished edge, you'll also want to cover the sides of the foam.
Carefully cut a shallow groove all the way around the outer edges of the foam board.
Wrap your border fabric around the sides and tuck the extra fabric into this groove to hold it neatly in place.
7. Frame Your Artwork!
Once you've finished tucking all your fabric pieces and covering the edges, your kinusaiga is ready to display!
Place your completed artwork into its frame and enjoy your new handmade creation.
More Instructions Coming Soon!
I'll be updating this tutorial shortly with detailed photographs, additional techniques, and helpful troubleshooting tips.
In the meantime, have fun experimenting with different colors, patterns, and textures. There's no single right way to make your artwork your own!
Happy crafting!